
Navigating US visa application help can mean the difference between approval and denial for your American dream. The U.S. Department of State processes millions of visa applications annually, yet many applicants struggle with the complex requirements and procedures that can make or break their case.
Quick Guide to US Visa Application Help:
The research shows that incomplete or incorrect Affidavit of Support documentation is the most common cause for delay in visa issuance after the consular interview. This highlights why proper preparation and attention to detail are crucial for success.
Whether you’re applying for a tourist visa to visit family, seeking asylum protection, or pursuing a marriage-based green card, understanding the process can save you time, money, and heartache. The stakes are particularly high for LGBT individuals and couples who may face unique challenges in documenting relationships or proving ties to home countries that doesn’t recognize their unions.
Every detail matters when consular officers review your case. From ensuring your DS-160 form is “properly completed” (not containing placeholder information) to demonstrating strong ties to your home country, small mistakes can lead to significant delays or denials.
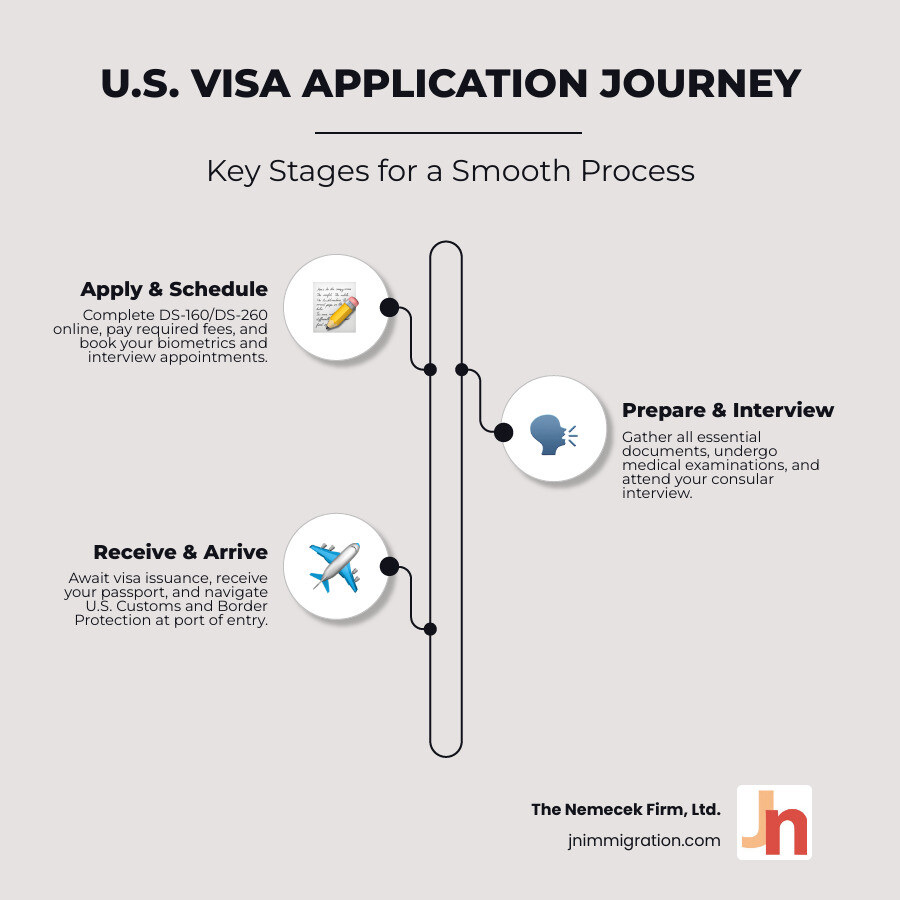
Getting started with your U.S. visa application journey can feel a bit like learning a new language. But don’t worry, we’re here to help translate the complexities of U.S. immigration law into clear, actionable steps. The U.S. Department of State and its Bureau of Consular Affairs are the official stewards of the visa process, ensuring integrity and security. Their websites are your go-to sources for accurate and up-to-date information. Relying on official sources is paramount to a successful application. You can always start by finding the nearest U.S. Embassy or Consulate to you by visiting their official directory: Find a U.S. Embassy or Consulate.
One of the first, and most crucial, steps in your US visa application help journey is to determine the correct type of visa for your intended purpose in the United States. The U.S. offers a wide array of visas, broadly categorized into two main groups: Immigrant Visas (IV) and Nonimmigrant Visas (NIV).
Immigrant Visas (IV): These are for individuals who intend to live permanently in the U.S. They lead to lawful permanent resident status, commonly known as a Green Card. The most common categories include:
Nonimmigrant Visas (NIV): These are for individuals who intend to visit the U.S. for a temporary period and for a specific purpose. They require applicants to prove their intent to return to their home country. Common nonimmigrant visa types include:
The distinction between these two broad categories is fundamental. Nonimmigrant visas require demonstrating “nonimmigrant intent”—meaning you must convince the consular officer that you have strong ties to your home country and intend to return after your temporary stay.
In this age of abundant information, discerning reliable sources is key, especially for something as critical as your U.S. visa application. We cannot stress this enough: always, always, always refer to official government websites.
The primary sources for official U.S. visa information are:
Avoiding Misinformation: While many third-party websites offer general US visa application help, some can be outdated or even fraudulent. Be extremely wary of “visa consultants” who promise guaranteed visas, ask for money for services that are free, or encourage you to provide false information. The official website for information about the visa application process is free of charge, and all fees and instructions are listed there. If you are given different instructions, contact the official support channels. Providing incorrect or incomplete information on visa applications can have severe implications, ranging from delays and refusals to permanent ineligibility for a U.S. visa. The U.S. Department of State emphasizes the importance of accurate and complete information, as errors can lead to delays or denials. If you have been cheated through a job scam involving visa promises, immediately report it to the Indian police or the Department of Homeland Security’s Immigration and Customs Enforcement (ICE) division.
Once you’ve figured out which visa type fits your situation and gathered information from official sources, it’s time to roll up your sleeves and dive into the actual application process. Think of this as your roadmap – while the specific requirements might vary depending on your visa category, the general path remains remarkably consistent across all applications.
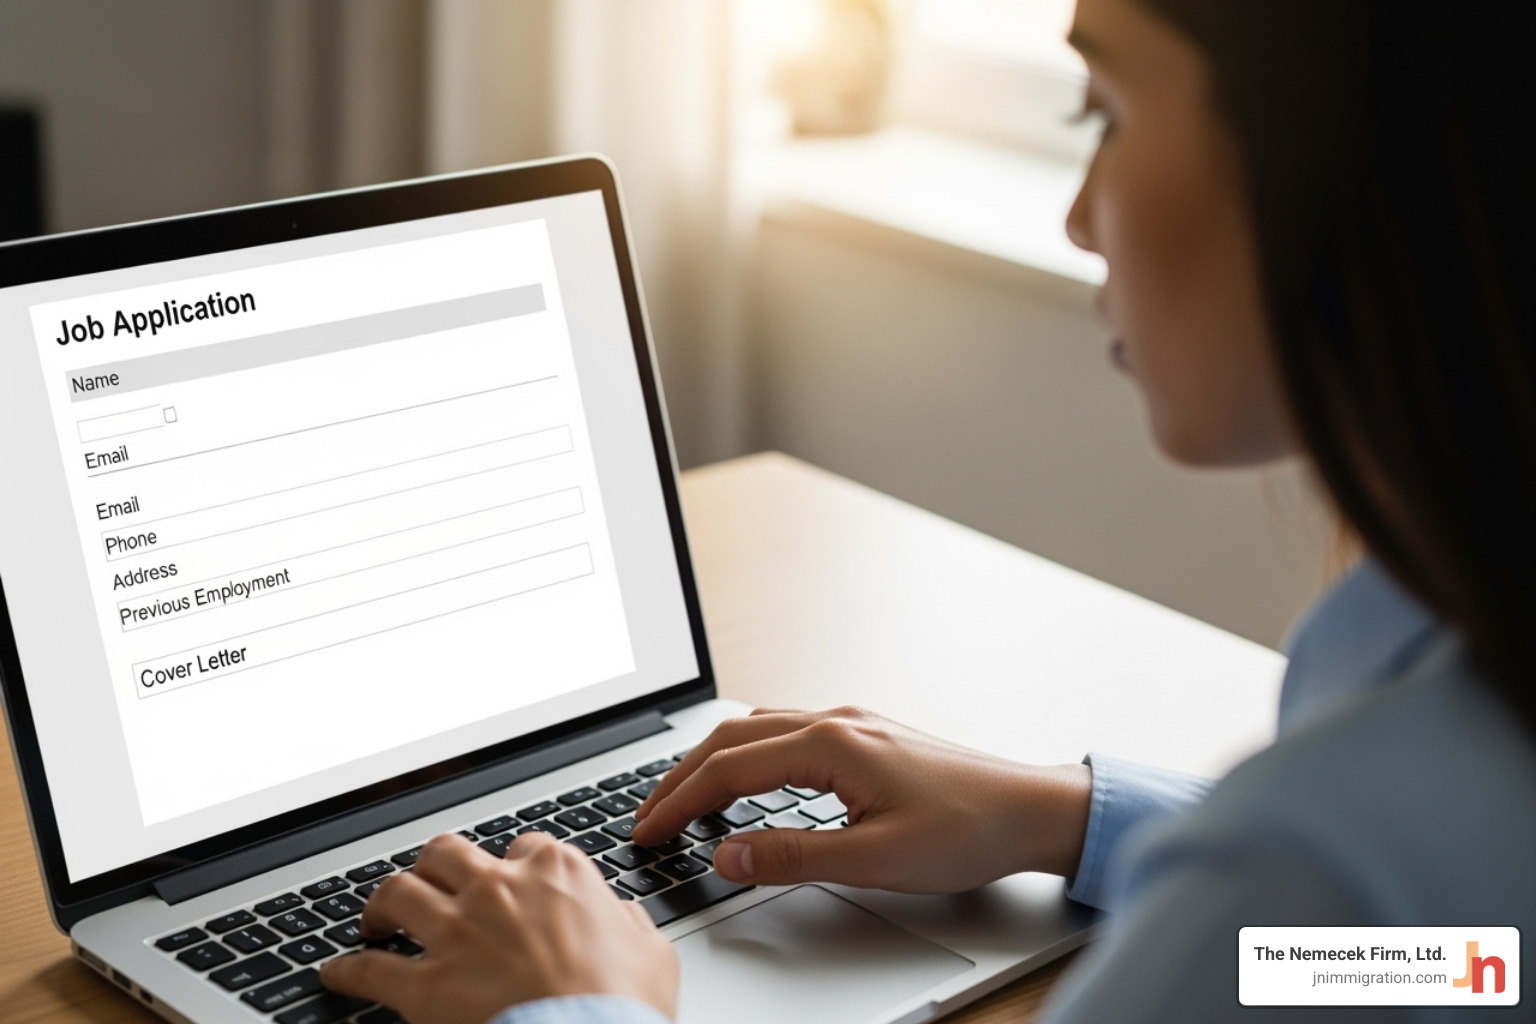
Your US visa application help journey truly begins when you sit down to complete your online application form. This isn’t just paperwork – it’s your first chance to tell your story to a consular officer, so accuracy isn’t just important, it’s absolutely critical.
For most nonimmigrant visas, you’ll be working with the DS-160 form. This comprehensive online application collects everything from your basic personal details to your travel history, family information, work background, and security-related questions. Don’t let the complexity intimidate you – it’s rated as “moderately difficult” at 59 out of 100, which means it’s definitely manageable with some patience and attention to detail.
If you’re applying for an immigrant visa, your form will be the DS-260. Like its nonimmigrant cousin, this form gathers extensive information about you and your family members who will be immigrating with you. Both forms are available through the Consular Electronic Application Center (CEAC).
Here’s something that trips up many applicants: your form must be “properly completed.” This means every field should contain complete, accurate information – not placeholder text or incomplete answers. Consular officers can and will cancel appointments for improperly completed forms, which means starting over and waiting for new appointment slots.
Save your progress frequently. Both the DS-160 and DS-260 allow you to save your work as you go, and we can’t recommend this enough. Internet connections can be unpredictable, and these forms can take several hours to complete properly. Just make sure to write down your application ID number so you can retrieve your saved application later.
Every single piece of information you provide must be truthful and accurate. Even unintentional mistakes can lead to significant delays, administrative processing, or in worst-case scenarios, permanent visa ineligibility. Consular officers are trained professionals who know how to spot inconsistencies, so honesty really is the best policy.
After you’ve successfully submitted your online application, you’ll move into the appointment phase – and this is where things get real. The process typically involves using an online appointment system, which for many countries is found on ustraveldocs.com.
First things first: paying your application fee. The Machine Readable Visa (MRV) fee is mandatory and non-refundable for most visa applications. For most nonimmigrant visas, you’ll pay $185, though the amount can vary for petition-based applications or E-visa categories. That this fee is for processing your application, not for guaranteeing approval – so it’s non-refundable even if your visa is ultimately refused.
Next comes your biometrics appointment at a Visa Application Center (VAC). This is where you’ll have your fingerprints scanned and a digital photograph taken. It might seem like a small step, but it’s actually a crucial security measure. If you skip this appointment or fail to schedule it, your consular interview will automatically be cancelled – no exceptions.
The main event is your visa interview appointment. For most applicants between ages 14 and 79, this face-to-face meeting with a consular officer is where your application will be decided. You’ll schedule this through the same online system you used for your biometrics appointment.
Here’s a heads up: wait times for interview appointments can vary dramatically depending on your location and the type of visa you’re applying for. Some locations might have appointments available within weeks, while others could have wait times of several months. The Department of State website provides current wait time estimates, so check those before making any travel plans.
What if you need to reschedule? Life happens, and the system recognizes that. The online appointment system typically allows you to reschedule your interview, but there are important rules to follow. You should cancel your appointment at least three business days in advance to avoid being marked as a “no-show.” Some locations have implemented stricter policies – for instance, some posts now require you to schedule an entirely new appointment if you miss one or need to reschedule a second time.
For true emergencies – like a medical crisis or death in the family – you may be able to request an expedited appointment. These requests are made through the online system and require solid documentation proving the emergency situation. It’s not a guarantee, but it’s an option when you genuinely need it.
If you’re navigating complex scheduling situations or need additional guidance throughout this process, our US Visa Application Help resources can provide the support you need to move forward confidently.
Your visa interview is where months of preparation come together in a single conversation that could change your life. Think of it as your opportunity to tell your story to the consular officer – not just through words, but through the carefully organized documents that support every aspect of your application.
The truth is, many applicants underestimate how crucial proper document preparation really is. Incomplete or incorrect documentation is the most common cause for delays in visa issuance after the consular interview. But here’s the good news: with the right US visa application help and thorough preparation, you can avoid these common pitfalls entirely.
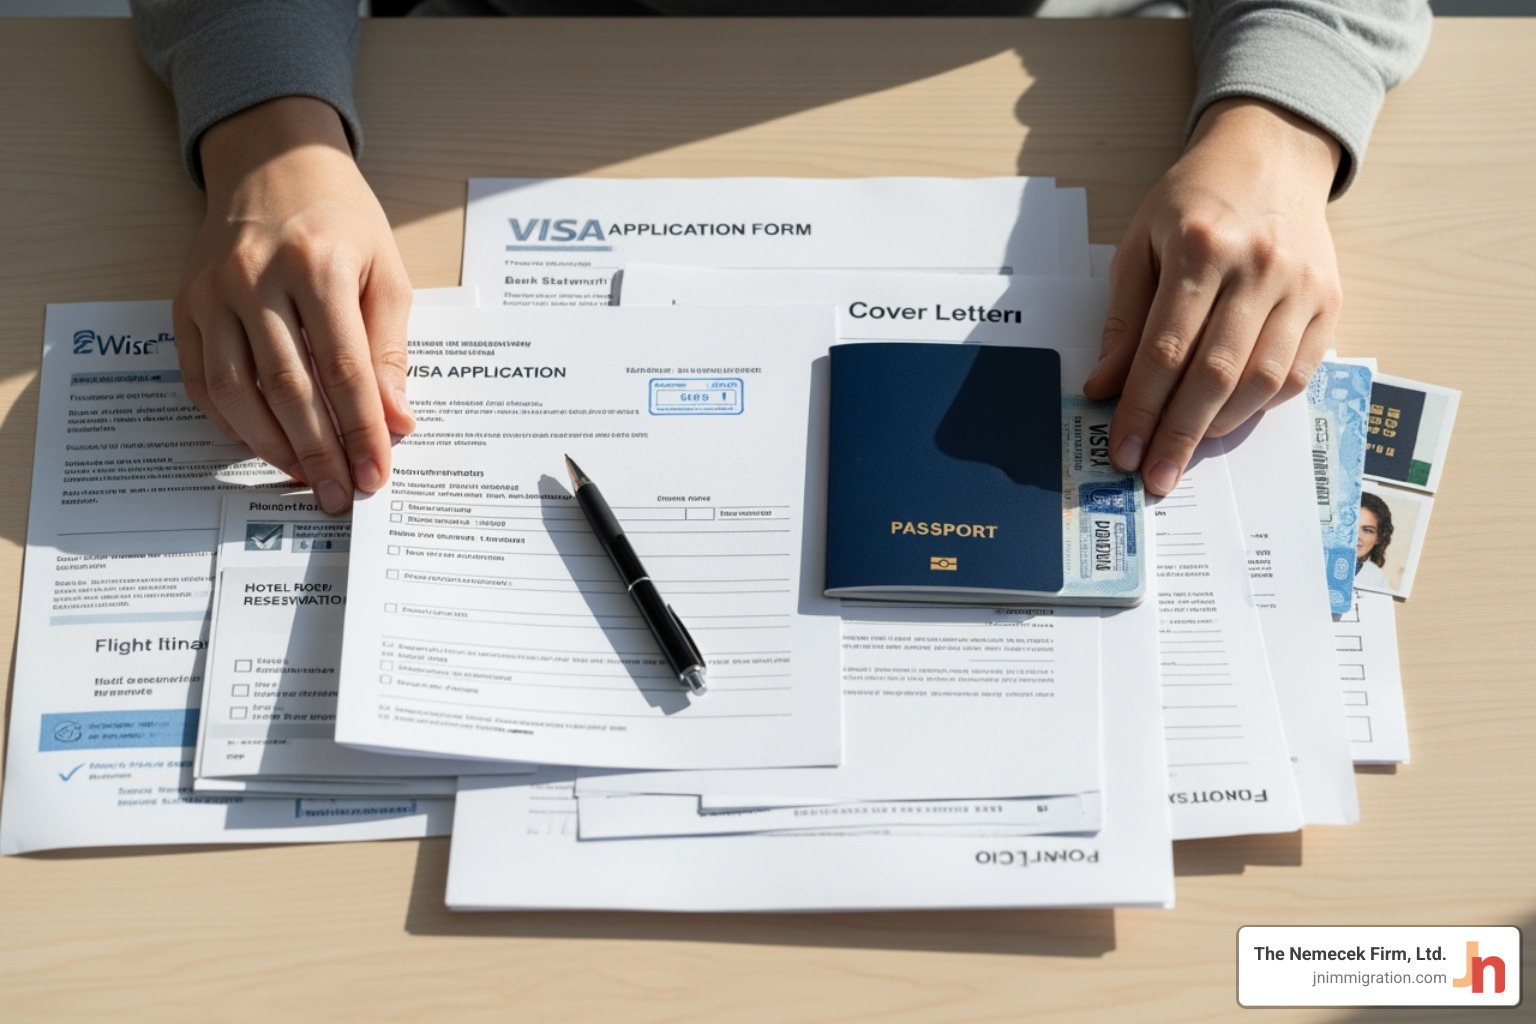
Picture walking into your interview with confidence, knowing that every document in your folder tells a clear, consistent story about who you are and why you deserve that visa. That’s exactly what proper document organization can do for you.
Start by creating a physical folder with clearly labeled sections – trust us, fumbling through loose papers during your interview isn’t the impression you want to make. Your unexpired passport should be easily accessible, valid for at least six months beyond your intended stay. If you have an old passport with a previous U.S. visa, bring both passports to show your travel history.
The DS-160 or DS-260 confirmation page with its distinctive barcode is your digital fingerprint in the system. Don’t forget your visa fee payment receipt – this proves you’ve paid the non-refundable application fee that ranges from $160 to $315 depending on your visa category. Your appointment letter confirms you’re exactly where you’re supposed to be.
Even in our digital age, you’ll still need two recent visa photos (5 cm x 5 cm) that meet strict U.S. requirements. Yes, even if you uploaded a photo online – bring physical copies anyway.
Your birth certificate (original plus photocopy) establishes your identity from day one. If yours is missing information or unavailable, don’t panic – secondary evidence like baptismal certificates or school records can work.
For immigrant visa applicants, financial support documentation often makes or breaks applications. This includes the completed Form I-864 (Affidavit of Support) from your U.S. sponsor, along with their IRS tax transcripts or returns. Get this right – incomplete Affidavit of Support documentation causes more delays than any other single factor.
If you’re applying for a nonimmigrant visa, demonstrating strong ties to your home country is absolutely critical. Consular officers need convincing evidence that you’ll return home after your visit. This means bringing proof of employment (employer letters, recent pay stubs), property ownership documents, family ties documentation (marriage certificates, children’s birth certificates), substantial bank statements, or enrollment letters from educational institutions.
Additional documents depend on your specific situation – marriage or divorce certificates, court records if you’ve ever been arrested, military service records, or adoption papers. Employment-based applicants need a recent letter from their U.S. employer (dated within the last month), while students must bring their I-20 form and SEVIS fee receipt.
Any document not in English must include a certified, notarized English translation. No exceptions.
For immigrant visa and K visa applicants, the medical examination isn’t optional – it’s a mandatory gateway that protects public health and ensures you’re ready for life in America. Think of it as your health passport to the United States.
You can’t just visit any doctor for this exam. The U.S. Embassy or Consulate maintains a carefully vetted list of approved panel physicians in your region. In India, for example, you’ll find authorized clinics in Chennai, Hyderabad, Mumbai, and Punjab. Schedule your appointment at least seven days before your visa interview – this timing isn’t negotiable.
The examination follows strict standards set by the United States Public Health Service. During your visit, expect a comprehensive physical examination, a thorough review of your medical history and vaccination records, and specific tests for communicable diseases. Adults 15 and older will need chest X-rays for tuberculosis screening, while those 2 and older require IGRA testing. If you’re between 18-44, you’ll be tested for syphilis, and those 18-24 need gonorrhea screening. The clinic will also verify your COVID-19 vaccination status.
Plan for the exam results to take four to seven days to prepare. The panel physician will give you a sealed envelope containing your medical results – do not open this envelope under any circumstances. Bring it sealed to your visa interview, where consular staff will collect it.
These medical exam fees are separate from your visa application costs and paid directly to the clinic. The investment in proper preparation now can save you months of delays later.
If you’re dealing with complex medical issues or other challenging aspects of your case, consider scheduling an Immigration Case Consultation to ensure you’re fully prepared for success.
Let’s be honest – even when you’ve dotted every ‘i’ and crossed every ‘t’, the U.S. visa application process can throw you some curveballs. That’s where understanding common challenges becomes your secret weapon for getting the US visa application help you need. Think of this as your troubleshooting guide for when things don’t go exactly as planned.
The most important thing to remember? Honesty is always your best policy. Consular officers are trained professionals who’ve seen it all, and they respect applicants who are straightforward about their situations.

Nobody likes to think about what might go wrong, but being prepared for potential hiccups can save you time, money, and a lot of stress. Here are the most common roadblocks applicants encounter:
Incomplete or incorrect information tops the list of preventable problems. Remember how we emphasized accuracy earlier? Here’s why it matters so much. If your DS-160 form contains placeholder information instead of your actual details, the system flags it as “improperly completed.” This can lead to automatic appointment cancellation before you even get to the interview stage. Always review your application multiple times before submitting.
Section 214(b) refusal is probably the most heartbreaking for nonimmigrant visa applicants. This section creates a legal presumption that every visitor wants to stay permanently in the U.S. – and it’s your job to prove otherwise. The consular officer needs to believe you have strong ties to your home country that will pull you back after your visit.
What counts as strong ties? A stable job you love, property you own, family members who depend on you, or ongoing educational commitments. If you’re young, single, and between jobs, this can be challenging – but not impossible. Focus on demonstrating your future plans and commitments in your home country.
Section 221(g) administrative processing sounds scarier than it actually is. Think of it as hitting the “pause” button rather than “stop.” Your application isn’t denied – it just needs additional review or documentation. This might involve security background checks or requests for more evidence to support your case.
The waiting period for administrative processing typically runs at least 60 days, though it can be longer. You can track your case status online using your CEAC barcode number. For detailed information about what to expect, check the Administrative Processing Information page.
If your visa gets refused, you might wonder about reapplication. Here’s the thing – simply applying again with the same information rarely works. Only reapply if you have genuinely new evidence or your circumstances have significantly changed. Visa fees aren’t refundable, so make sure your second attempt is stronger than your first.
Some situations require specialized US visa application help because they involve unique rules or procedures. Let’s walk through the most common special cases:
Diversity Visa (DV) Program applicants – congratulations if you won the lottery! But winning is just the first step. The DV Program has some strict requirements that can trip up even careful applicants.
Your original lottery entry must have been completely accurate about your marital status and children at the time you submitted it. Any discrepancies here will result in automatic denial for you and your entire family, even if everything else is perfect. The program also requires either a high school education or two years of qualifying work experience within the past five years.
Time is also your enemy with DV cases. Visas must be issued by September 30 of the program year, and there are no extensions. If you delay your interview, there’s no guarantee a visa will still be available when you reschedule.
Diplomatic passport holders have their own set of rules. If you’re traveling on official business (A, G, C-2, or C-3 visas), you’re generally exempt from both fees and interviews. However, if you’re a diplomat wanting to vacation in Disney World with your family, you’ll likely need to apply for tourist visas just like everyone else – though you might qualify for fee exemptions.
Third-country nationals (TCNs) are people applying for U.S. visas outside their home countries. For example, if you’re a Canadian citizen living and working in India, you’d be considered a TCN when applying for a U.S. visa in India. The good news is that the requirements are generally the same as for local applicants, but some countries participate in the Visa Waiver Program, which might allow short visits without a visa at all.
For those facing persecution in their home countries, asylum and refugee cases involve completely different legal pathways with their own complexities and timelines. These situations require specialized legal expertise due to their sensitive nature and the high stakes involved. Our Asylum and Refugee Services team understands the unique challenges these cases present and can provide the focused guidance you need.
The key takeaway? Every situation is unique, and when standard procedures don’t quite fit your circumstances, getting professional guidance can make all the difference in achieving a successful outcome.
Congratulations! You’ve made it through your visa interview – that’s a huge milestone in your US visa application help journey. But don’t pack your bags just yet. There are still a few important steps between your interview and actually stepping foot on American soil.
If your interview went well and your visa was approved, the consular officer will keep your passport to affix the official visa stamp. This is where patience becomes your friend – the waiting game begins.
Understanding the visa issuance timeline can help manage your expectations. Most approvals result in your passport being ready within a few business days. However, if your case requires additional administrative processing under Section 221(g), this timeline can stretch significantly longer. There’s nothing you can do to speed up administrative processing, so try not to stress about it.
You’ll receive a notification – usually by SMS or email – when your passport is ready for collection. Passport pickup or delivery happens at designated locations you selected during your application process, often a Visa Application Center or courier office. Don’t forget to bring a government-issued photo ID and a photocopy when you go to collect it.
Here’s something many people overlook: immediately check your visa for errors once you get your passport back. Look carefully at your name, birth date, visa category, and expiration date. Even small typos can cause major headaches at the airport. If you spot any mistakes, contact the visa support email for your region right away – for example, support-india@usvisascheduling.com if you applied in India.
For those who received immigrant visas, there’s one more financial hurdle: paying the USCIS Immigrant Fee. This fee goes to U.S. Citizenship and Immigration Services and covers processing your permanent residency status and printing your Green Card. You must pay this fee before traveling to the U.S., but after your visa approval. It’s a crucial step that many people forget about until the last minute. You can find detailed payment instructions on the USCIS website, and our Green Cards page offers additional guidance on this process.
Here’s something that surprises many first-time travelers: having a visa in your passport doesn’t guarantee entry into the United States. Think of your visa as a ticket to apply for admission – the final decision rests with the U.S. Customs and Border Protection (CBP) officers at your port of entry.
The CBP inspection process is your final hurdle. The officer will examine your passport and visa, and likely ask questions about your travel purpose, how long you plan to stay, and what ties you have back home. These questions might sound familiar – they’re similar to what the consular officer asked during your interview. Stay calm, be honest, and answer clearly.
Most nonimmigrant visitors receive an electronic I-94 Arrival/Departure Record from the CBP officer. This little document is incredibly important – it specifies exactly how long you’re authorized to stay in the U.S. The “Admit Until Date” is your golden rule. Overstaying this date, even by a single day, can create serious immigration problems for future travel. You can access your electronic I-94 record online after entry, and we strongly recommend printing a copy for your records.
Sometimes, you might be selected for secondary inspection. Don’t panic – this doesn’t mean you’re in trouble. It’s simply a more detailed review of your documents and circumstances. Some travelers are randomly selected, while others might have something in their background that requires additional verification. Stay cooperative and truthful, and remember that CBP officers are just doing their job to keep everyone safe.
If you’re bringing goods into the U.S., make sure you understand customs regulations and declare everything as required. It’s always better to declare something unnecessarily than to risk being caught with undeclared items.
Finally, understand your rights and responsibilities as someone entering the United States. The CBP website has extensive information about arrival procedures, including helpful FAQs and guidance. One common mistake: if you accidentally took your I-94 with you when you left the U.S. on a previous trip, your departure wasn’t properly recorded. You’ll need to follow CBP’s instructions to correct your travel record before your next visit.
The journey from your home country to American soil involves many steps, but with proper preparation and the right US visa application help, you’ll steer it successfully. Every detail matters, but don’t let the complexity overwhelm you – millions of people complete this process successfully every year.
Your journey through the US visa application help process doesn’t have to be a solo adventure. With the right preparation and guidance, what initially seems like an impossible maze becomes a clear path toward your American dreams.
The most important lesson? Preparation truly is everything. Whether you’re gathering documents for a tourist visa or preparing for a complex employment-based application, taking time to understand each step saves you months of potential delays. Consular officers see thousands of applications, and the ones that stand out are those that are complete, accurate, and well-organized.
Accuracy isn’t just important—it’s absolutely critical. We’ve seen too many cases where a simple mistake on a DS-160 form or an incomplete Affidavit of Support turned a straightforward application into a lengthy administrative processing nightmare. Every detail matters, from spelling your name correctly to providing complete financial documentation.
Your best friends throughout this process are the official government resources. The U.S. Department of State website, your local Embassy or Consulate pages, and ustraveldocs.com contain the most up-to-date and reliable information. While it’s tempting to seek shortcuts through unofficial channels, these official sources protect you from misinformation that could derail your application.
Patience and persistence will serve you well. Administrative processing happens, interviews get rescheduled, and sometimes you need to reapply with stronger documentation. This doesn’t mean your case is hopeless—it means the system is working as designed to ensure security and proper documentation.
For straightforward cases, the guidance in this article should help you steer successfully. But let’s be honest—some situations are genuinely complex. If you’re dealing with employment-based visa complications, navigating LGBT immigration challenges, or facing asylum proceedings, the stakes are too high to go it alone.
That’s where our team at The Nemecek Firm, Ltd. steps in. Based in Columbus, Ohio, we provide high-quality, affordable representation for clients across the United States and internationally. Our specialized expertise in employment-based services and LGBT immigration, combined with Attorney Nemecek’s recognized media presence, means we understand both the legal complexities and the human stories behind every case.
Your American dream deserves professional advocacy. When you’re ready for comprehensive, compassionate assistance that goes beyond basic US visa application help, we’re here to guide you every step of the way: Get professional guidance from a Columbus Immigration Lawyer.